


I thought it would be fun to share a nice and easy little ceramics project…ceramic plant markers.
Step 1:
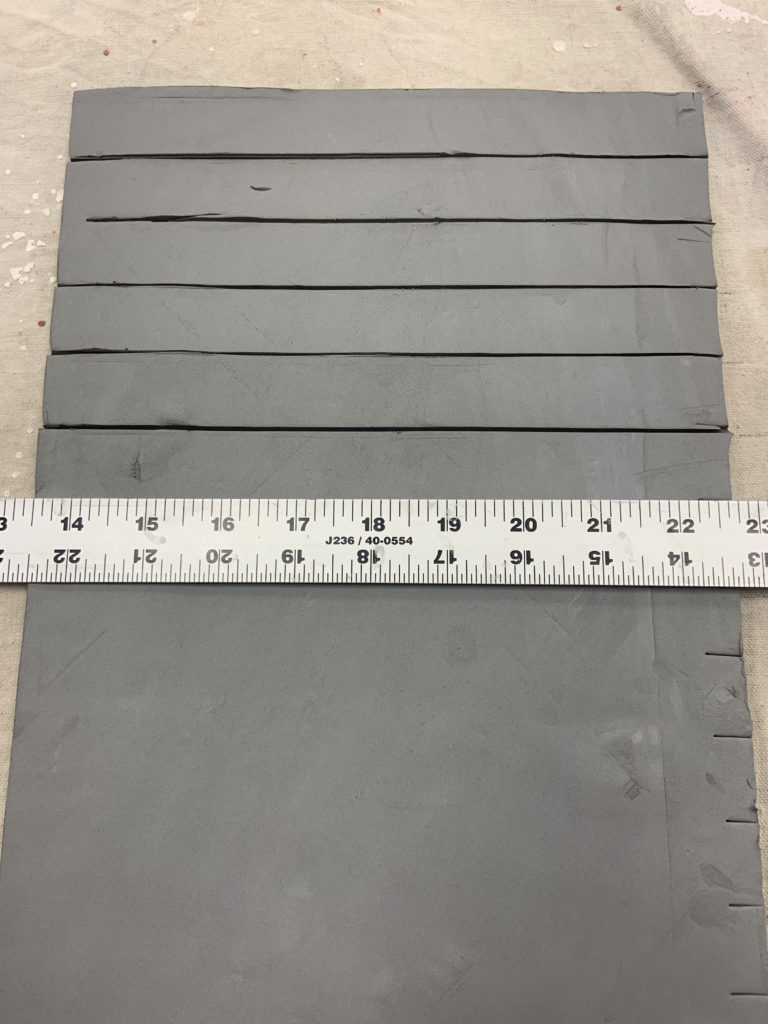
Roll out the clay about 3/8 inch thick and cut into 1″ strips. Of course, you can make any shape you like, but this is what I chose to do.
Step 2:
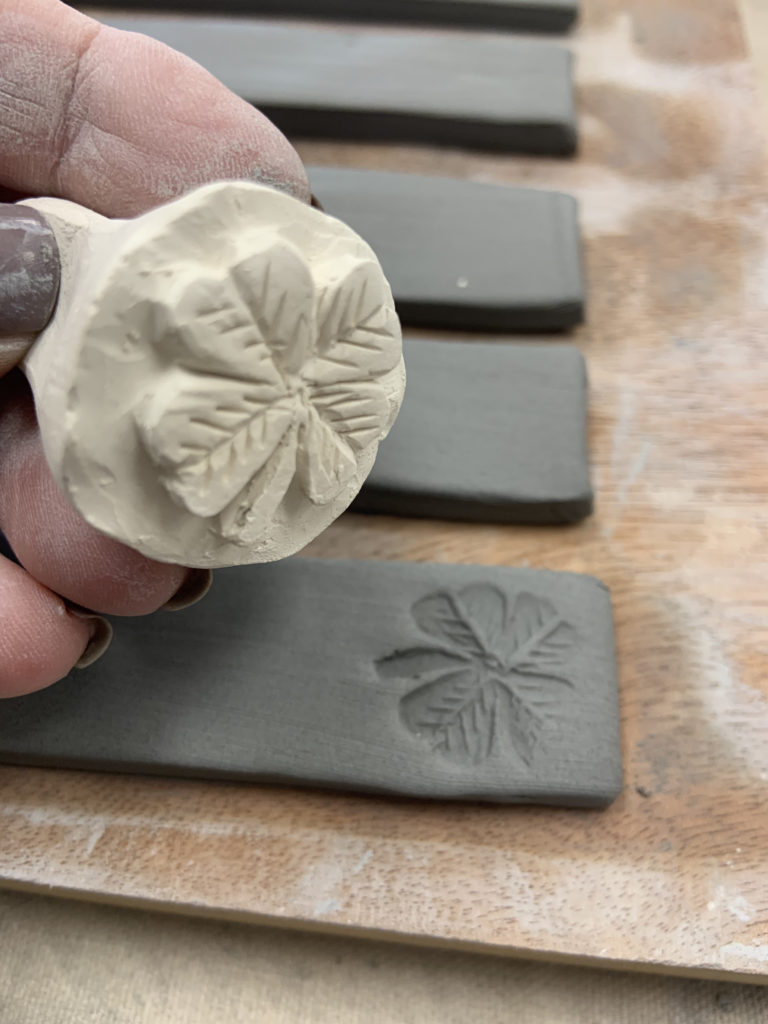
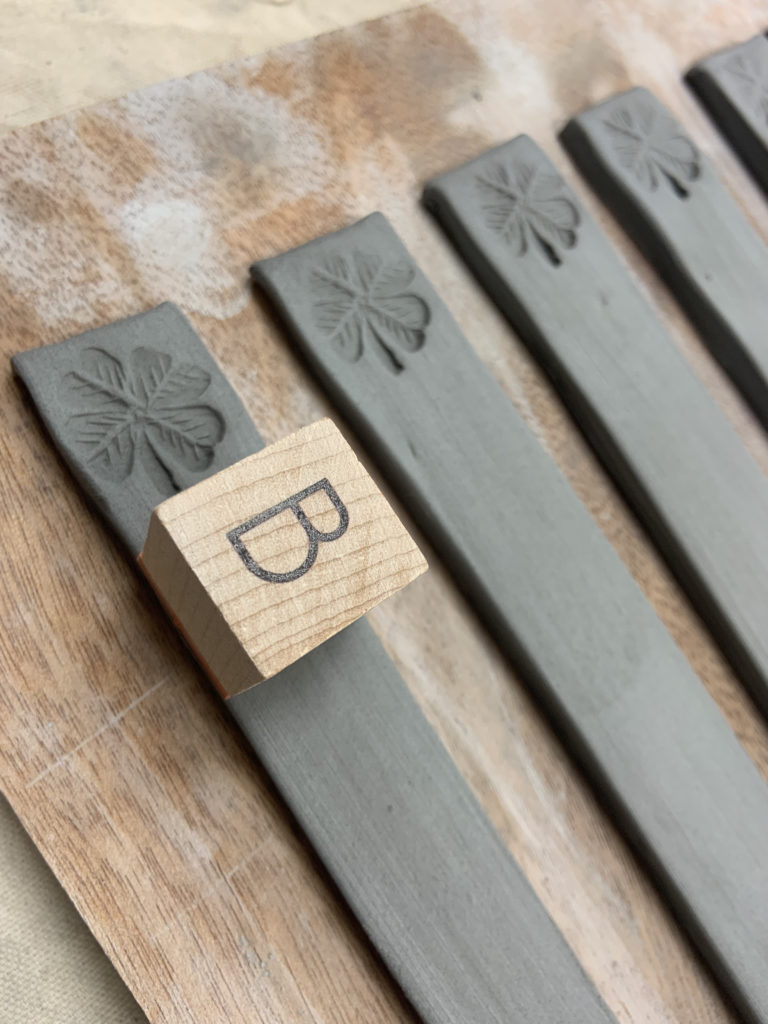
Press letters and any decoration you like into the cut strips.
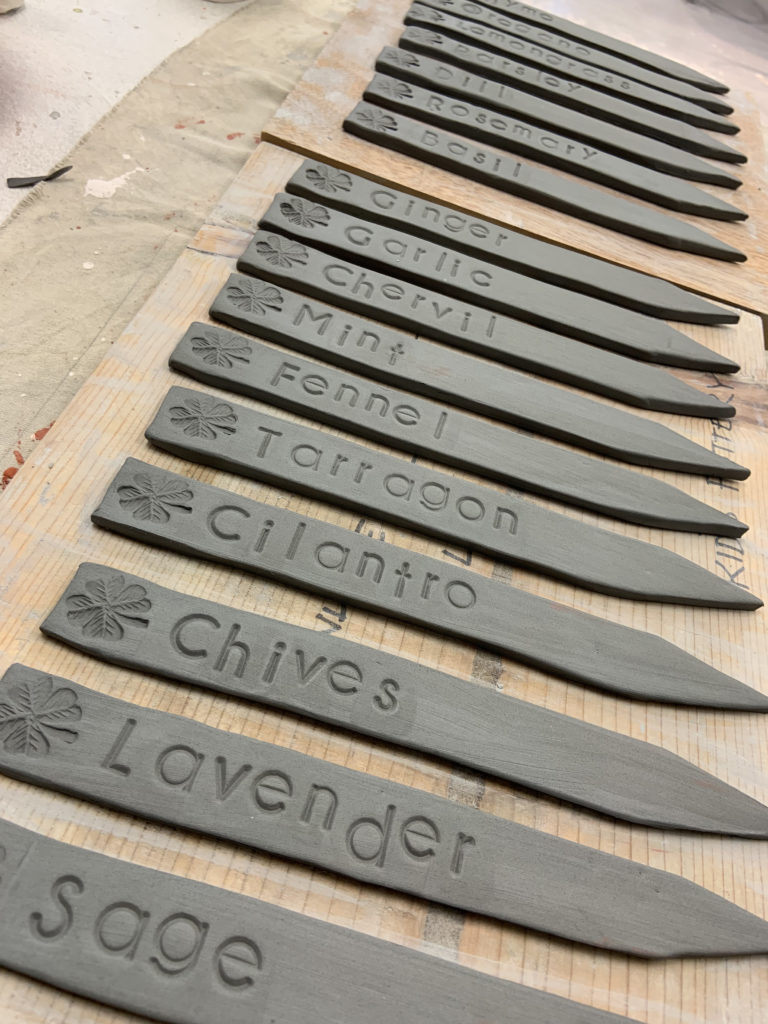
Here’s the finished wet clay plant markers.
Step 3:
Fire the markers.
Step 4:
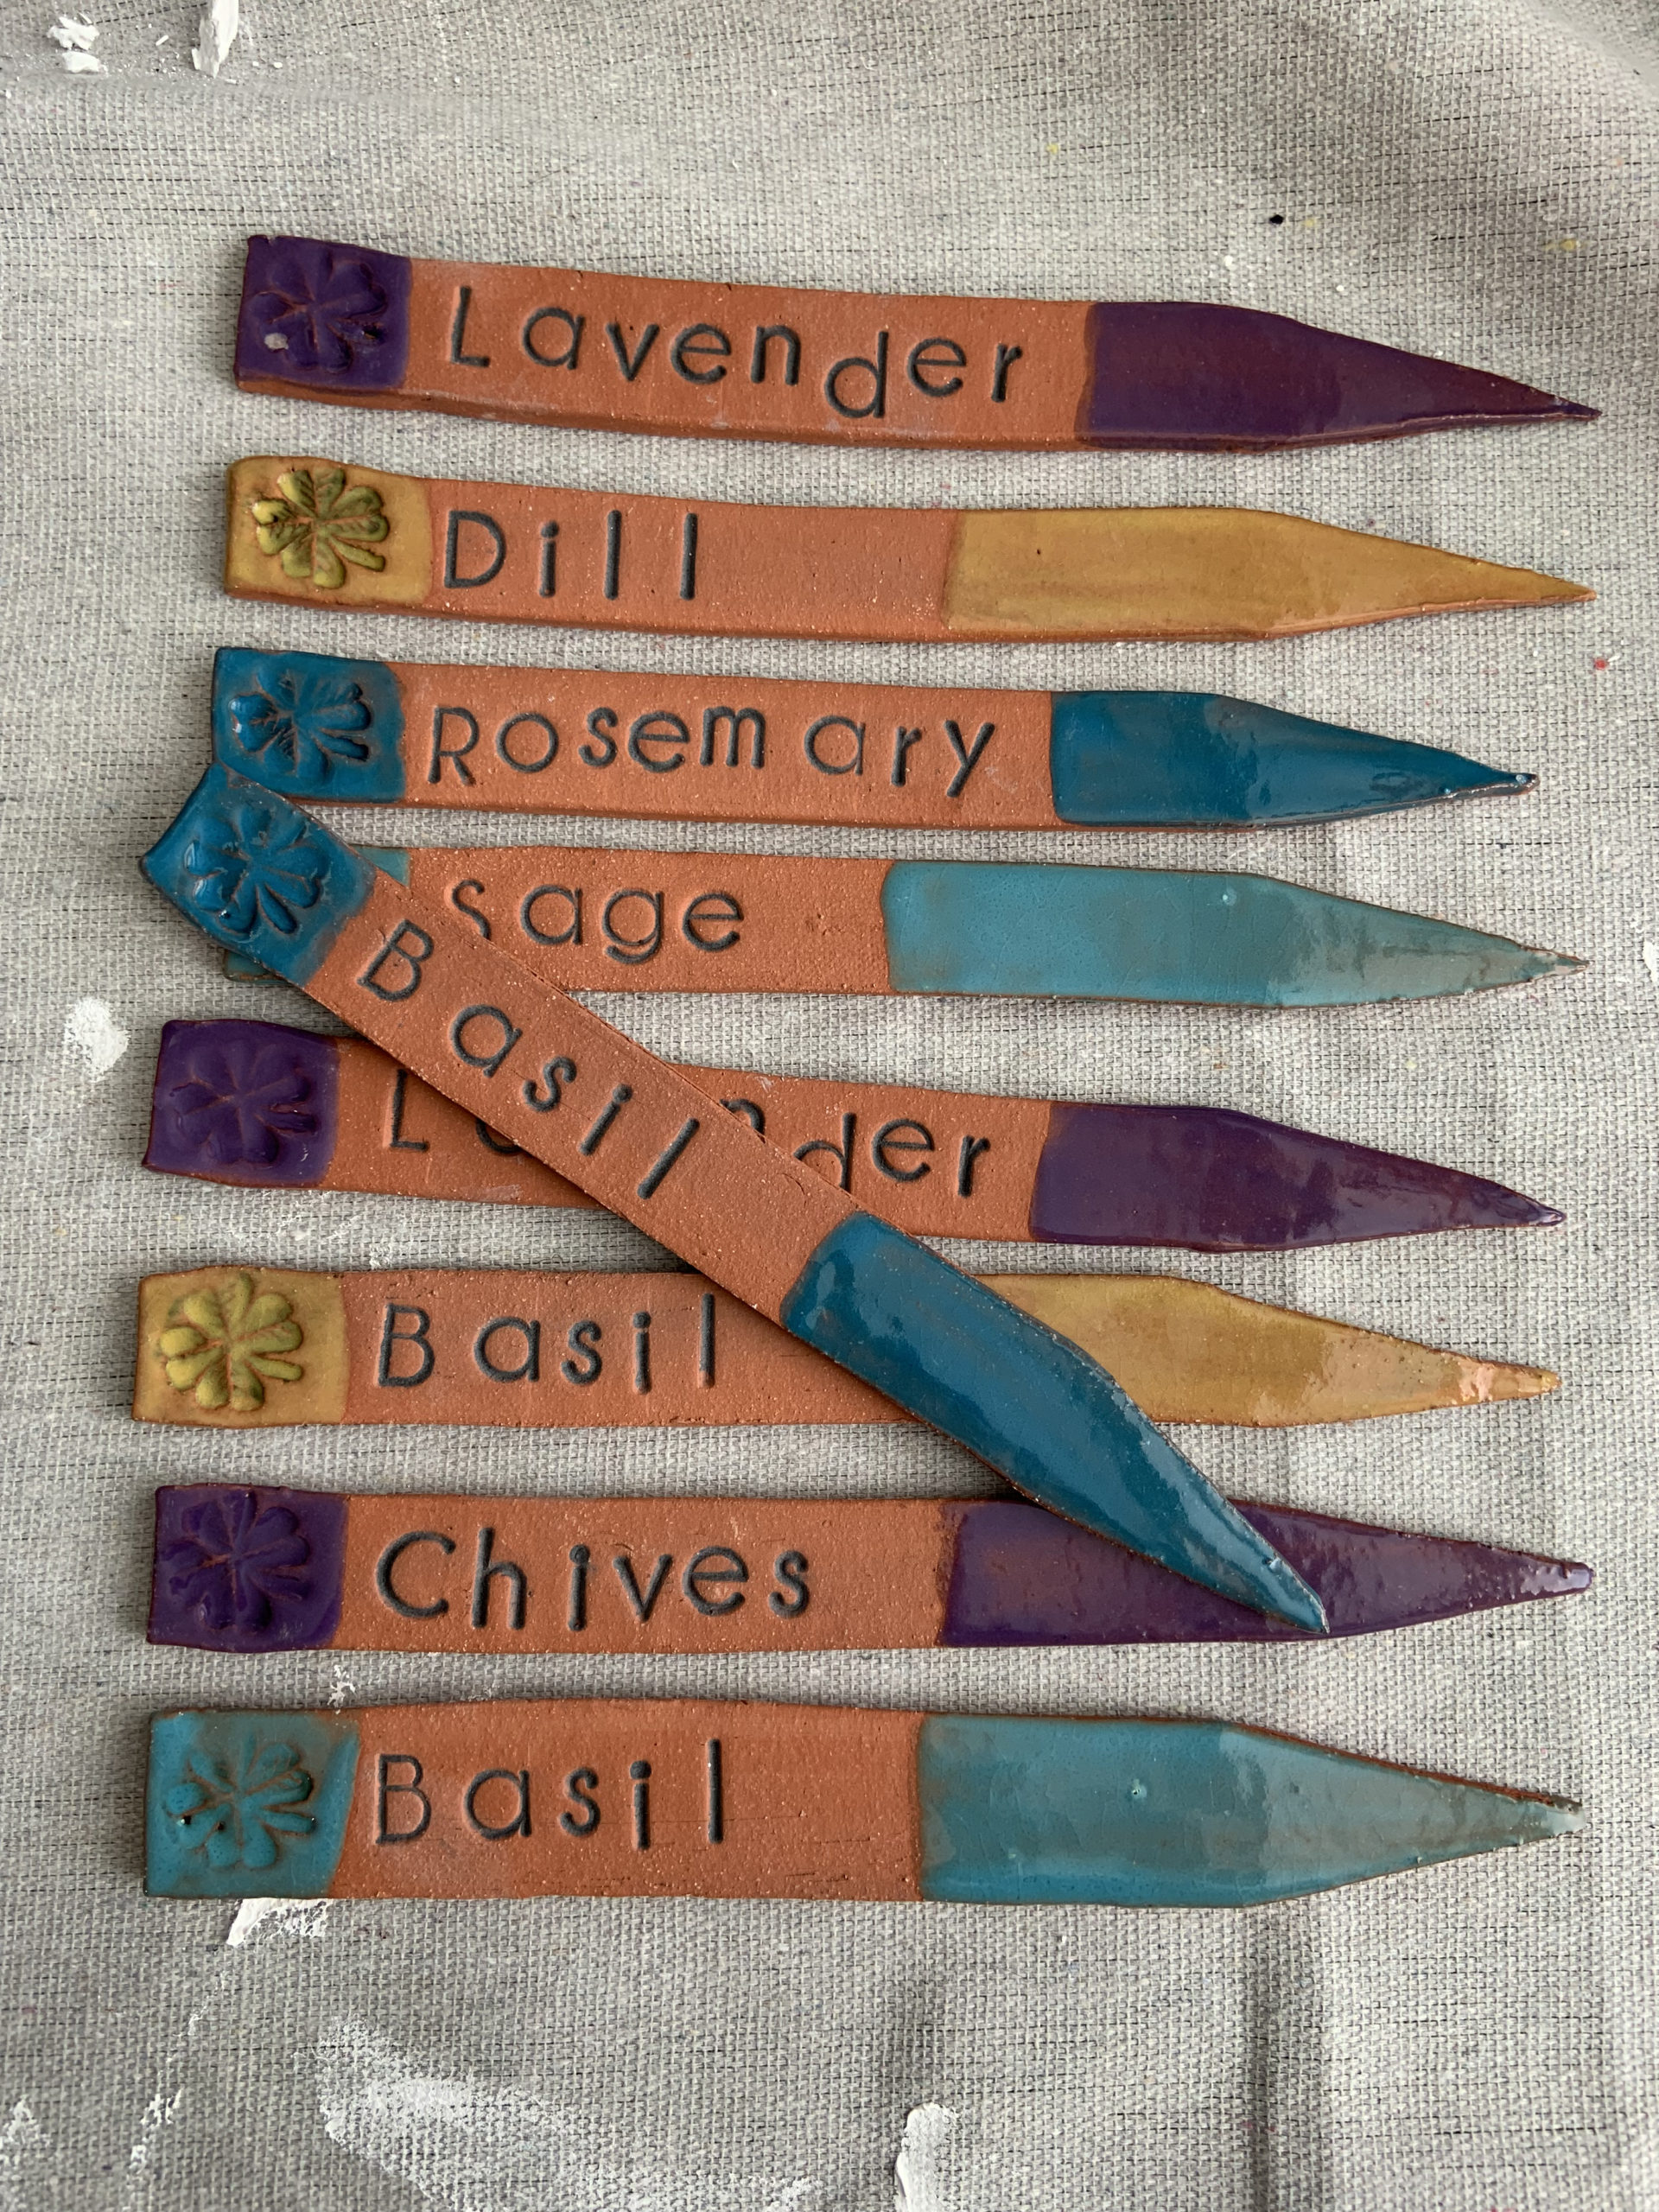
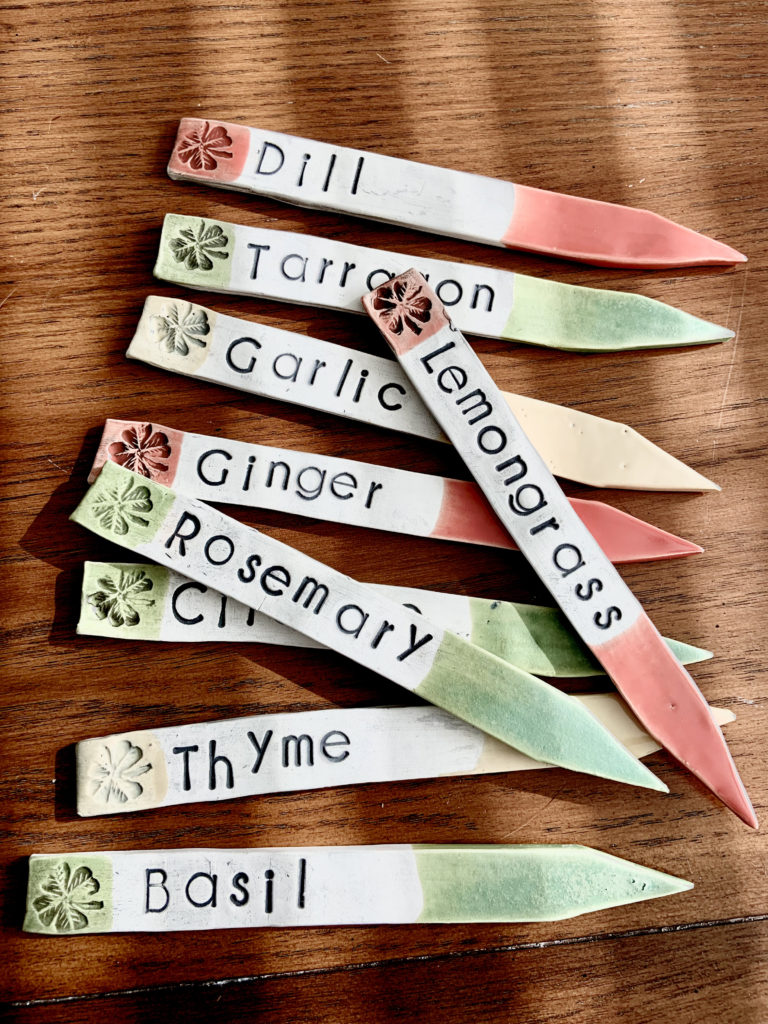
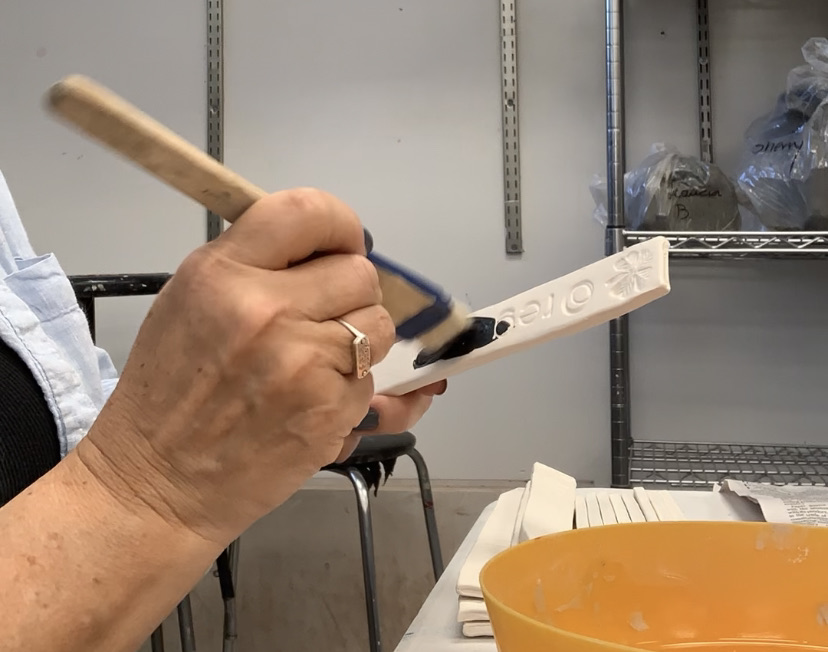
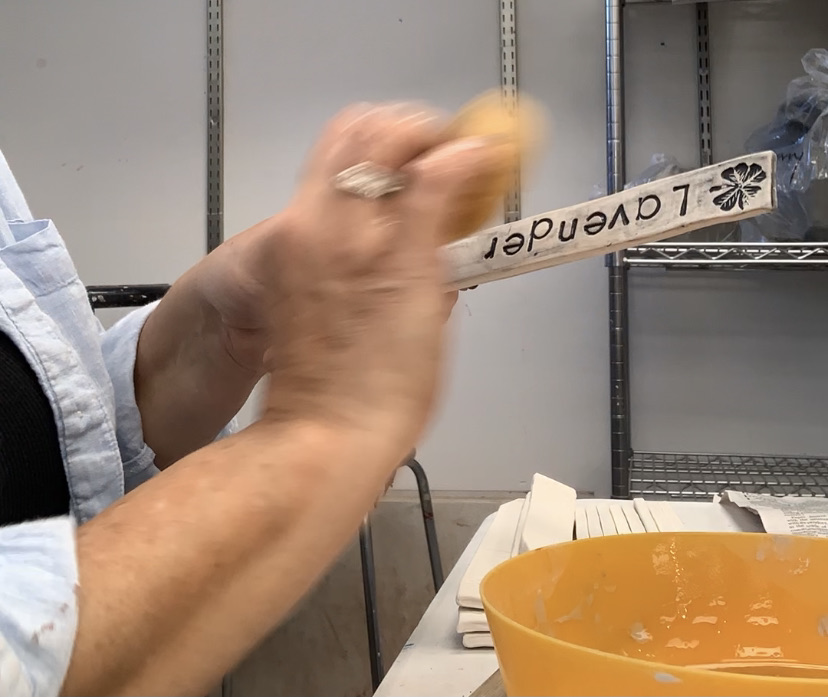
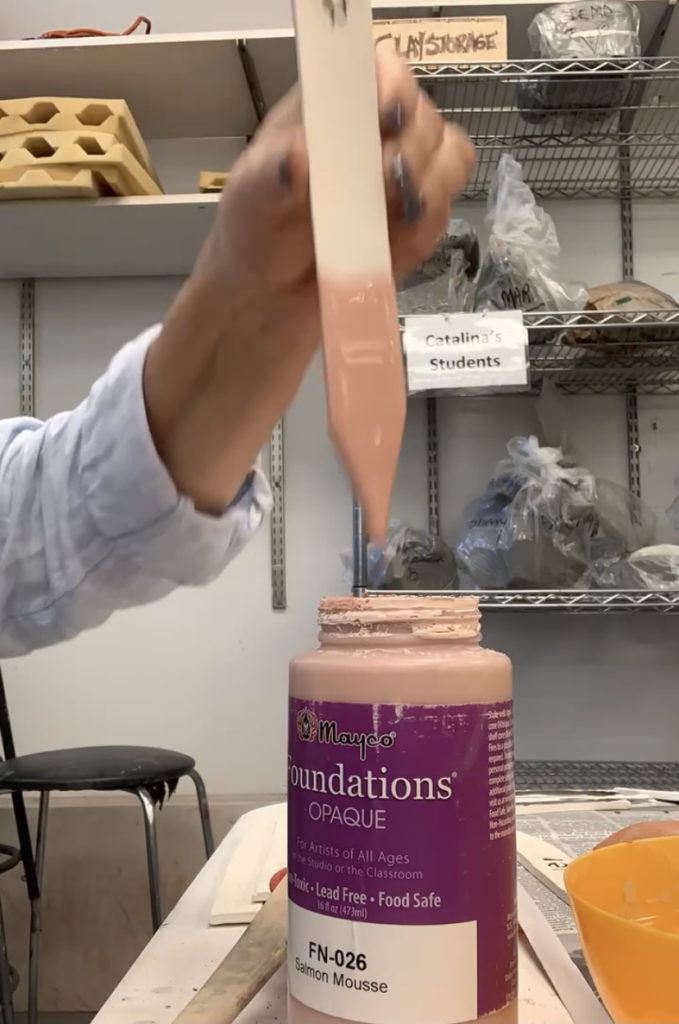
After the first firing, now it’s time to glaze. I chose to paint on black underglaze over the impressions and then wipe them off to reveal the letters better. Then I dipped the ends in different color glazes. Here’s what that looks like:
Once fired, it’s complete! I think these make super cute gifts and will probably be offering them in our giftshop! I’ll be playing with variations as well.
If you have access to a ceramics studio, give it a try!


Be the first to comment